DIY Tapestry Projects for Beginners
Tapestries are not just beautiful decor pieces; they’re also versatile artistic expressions that have been used for centuries to adorn walls and tell stories. They can add warmth, texture, and color to any space, making them a popular choice for home decor enthusiasts.
Benefits of Creating DIY Tapestries
Personalized Touch: Making your own tapestries allows you to infuse your personality and creativity into your living space.
Cost-Effective: DIY tapestries can be a budget-friendly way to decorate your home compared to purchasing ready-made ones.
Therapeutic: Engaging in tapestry projects can be a relaxing and meditative activity, reducing stress and anxiety.
Unique Decor: Homemade tapestries are one-of-a-kind pieces that can become conversation starters in your home.
Overview of Projects Suitable for Beginners
Embarking on a tapestry project as a beginner may seem daunting, but there are plenty of accessible and enjoyable projects to get you started. Whether you’re interested in learning how to make a tapestry loom or diving into simple weaving projects, there’s something for everyone. Below are some ideas to kickstart your tapestry journey:
Making a Tapestry Loom
If you’re new to tapestry weaving, creating your own loom can be an excellent starting point. It’s a straightforward process that doesn’t require many materials. Here’s a basic guide to making a simple tapestry loom:

Gather Your Materials
• Wooden frame or canvas stretcher bars
• Nails or screws
• Hammer or screwdriver
• Yarn or string for warp
• Shuttle (for weaving)
Assemble the Loom
• Attach the canvas stretcher bars together to create a rectangular frame.
• Hammer nails or screw screws along the top and bottom edges, evenly spaced, to create the warp.
• Tie the yarn or string to one side of the loom and wrap it around the nails or screws, creating the warp threads.
• Secure the yarn at the other end and your loom is ready for weaving!
Weaving Projects and Guides
Now that you have your loom ready, it’s time to start weaving! Here are some simple tapestry weaving projects to get you started:
Basic Tapestry Sampler
• Begin with a small square or rectangle on your loom.
• Experiment with different weaving techniques such as plain weave, soumak, or rya knots.
• Play with colors and textures to create a unique design.
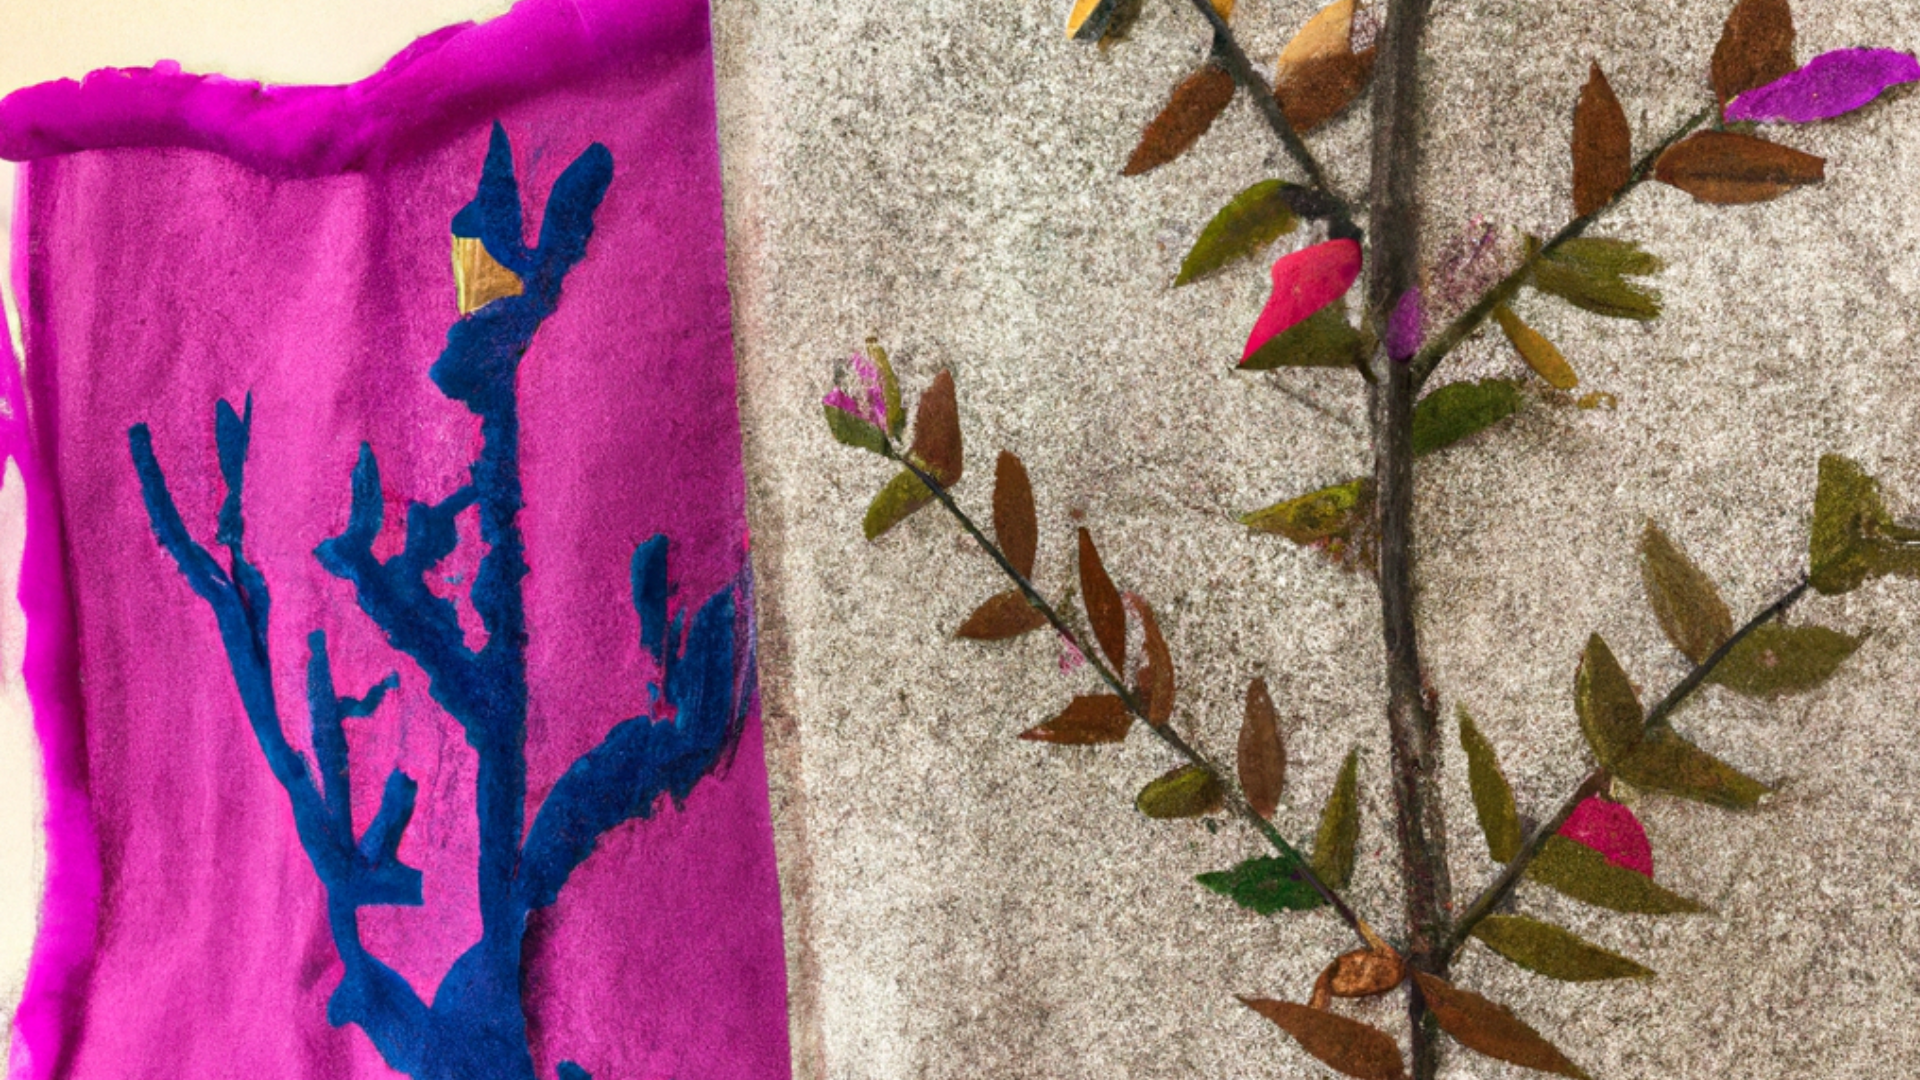
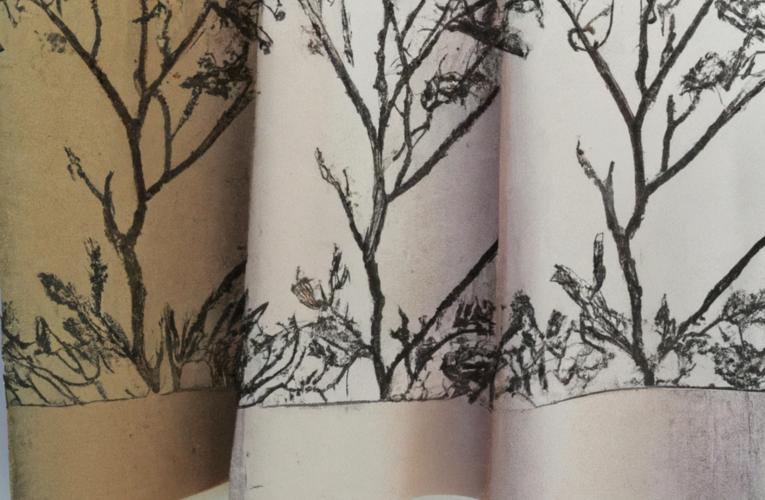
Nature-Inspired Tapestry
• Choose a natural theme like flowers, leaves, or landscapes.
• Use different shades of yarn to create depth and dimension.
• Incorporate embellishments like beads or sequins for added interest.
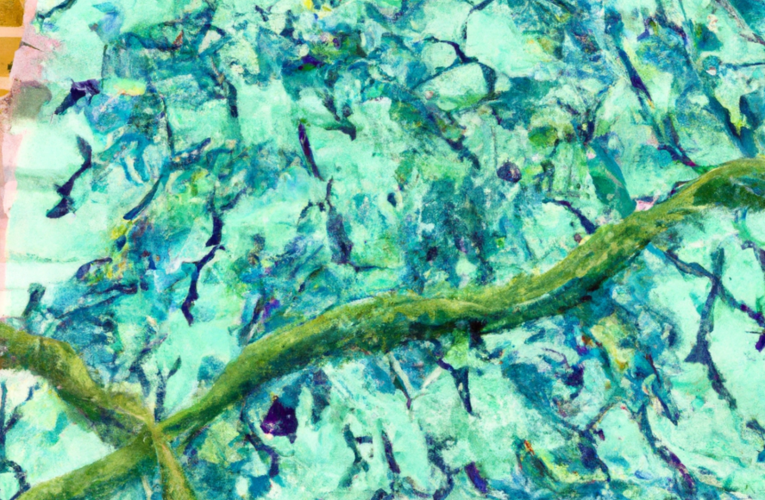
Abstract Wall Hanging
• Let your imagination run wild with an abstract design.
• Mix and match colors freely to create a vibrant and dynamic tapestry.
• Focus on shapes and patterns rather than a specific subject.
Free Tapestry Weaving Projects
For those looking for more guidance and inspiration, there are many free resources available online. Websites, blogs, and social media platforms offer tutorials, patterns, and tips for aspiring tapestry weavers. Here are some popular resources:
YouTube Tutorials: Channels like “Weaving Explained” and “The Weaving Loom” offer step-by-step videos for beginners.
Pinterest: Search for “free tapestry weaving projects” to find a plethora of ideas and patterns.
Online Forums: Join weaving communities like Ravelry or Weavolution to connect with fellow tapestry enthusiasts and exchange ideas.
Getting Started with DIY Tapestry Projects
Tapestry weaving is a beautiful and versatile craft that allows you to create stunning wall hangings, home decor pieces, and even wearable art. If you’re new to tapestry weaving, getting started can seem daunting, but with the right guidance and materials, you’ll be creating your own masterpieces in no time. This section will cover the essential steps and tools you need to begin your tapestry weaving journey.
A. Basic Materials Needed
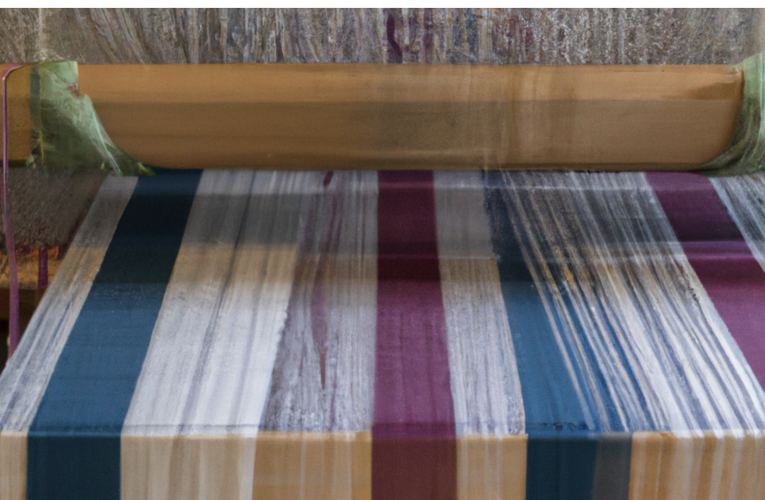
Tapestry Loom: The foundation of any tapestry project is the loom. For beginners, a simple frame loom or a DIY tapestry loom stand can work wonders. These looms provide a sturdy base for your weaving and come in various sizes to suit your project needs.
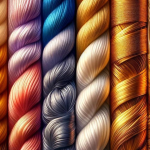
Yarn or Fabric: The choice of yarn or fabric will greatly influence the look and feel of your tapestry. Beginners might find it easier to work with thicker yarns or fabric strips, as they are more forgiving and easier to handle. Consider using a variety of textures and colors to add depth and interest to your design.
Tapestry Needle: A tapestry needle, also known as a weaving needle, has a blunt tip and a large eye, making it perfect for working with bulky yarns or fabric. It allows you to weave through the warp threads easily and create intricate designs.
Scissors: A good pair of sharp scissors is essential for cutting yarn or fabric as you work on your tapestry.
Warp Thread: This is the foundation of your tapestry, running vertically on the loom. Choose a strong and durable warp thread that complements your design.
Tips for Selecting the Right Yarn or Fabric
Texture: Consider the texture of the yarn or fabric you’re using. Different textures can create unique effects in your tapestry, from fluffy and soft to sleek and shiny.
Color: Experiment with a variety of colors to create depth and dimension in your design. Don’t be afraid to mix and match different hues to achieve the desired effect.
Weight: The weight of your yarn or fabric will affect the overall look and feel of your tapestry. Heavier weights will create a denser, more substantial piece, while lighter weights will result in a more delicate and airy design.
Durability: If you’re creating a tapestry that will be displayed or used regularly, consider the durability of your materials. Choose yarn or fabric that can withstand wear and tear over time.
Tools Required for Each Project
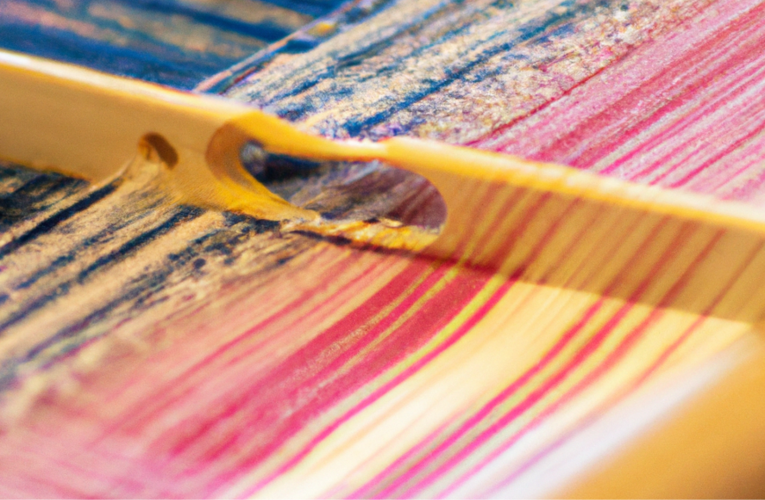
Tapestry Beater: This tool helps you pack down your weft threads evenly, creating a tight and sturdy weave. It’s especially useful for larger projects where you want to ensure an even tension throughout.
Shed Stick or Shedding Device: These tools help create the shed, or the space between the warp threads, making it easier to weave your weft threads through. A shed stick is a simple tool that can be inserted between the warp threads to lift them and create a shed. More advanced looms may come with shedding devices built-in.
Weft Yarn or Fabric: This is the material you weave horizontally through the warp threads to create your design. Depending on your project, you may need different colors or types of weft yarn or fabric.
Pattern or Design Guide: For beginners, having a pattern or design guide can be incredibly helpful. This can be a simple sketch on paper or a digital design that you follow as you weave.
Simple Tapestry Wall Hanging
This section indicates that the focus will be on creating a straightforward tapestry project suitable for beginners.
Step-by-step guide
This subsection will provide a detailed, sequential breakdown of the process involved in creating the tapestry wall hanging.
Choosing a simple design: It will start with selecting a design that is easy for beginners to execute. This may involve geometric shapes, simple motifs, or basic patterns.
Setting up the loom (if applicable): If a loom is being used, this step will guide beginners through the setup process. It may include assembling the loom, attaching the warp threads, and preparing the weaving area.
Weaving techniques for beginners: This step will cover the fundamental weaving techniques that beginners need to know. It may include techniques such as plain weave, soumak, and rya knots, among others.
Ideas for patterns and color schemes
This subsection will provide inspiration for beginners who may be unsure of what designs to create or which colors to use.
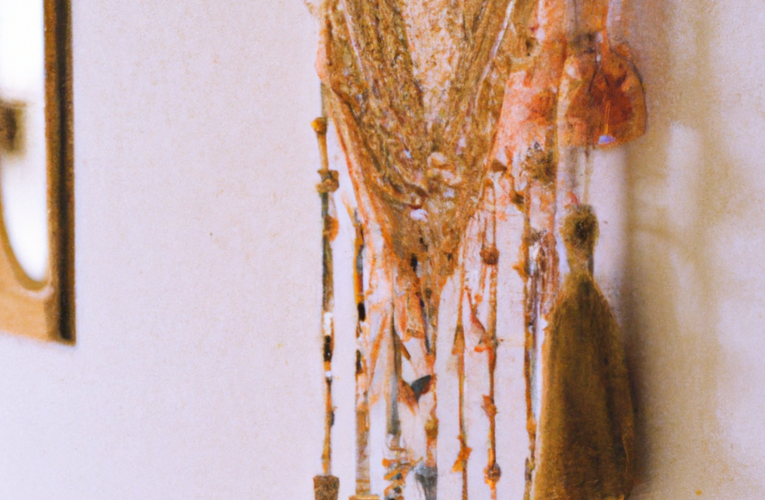
Boho Macrame Tapestry
This section introduces readers to the concept of creating a Boho Macrame Tapestry. It provides an overview of what macrame is and its relevance to tapestry making.
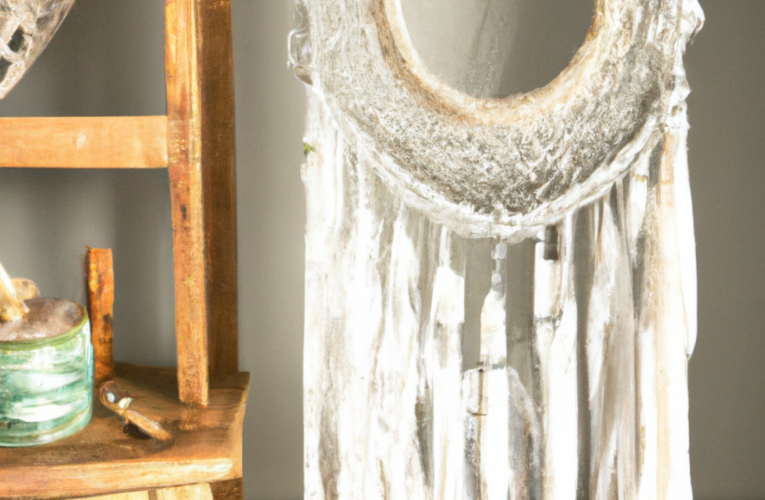
Introduction to macrame for beginners
This part provides a brief explanation of macrame, especially tailored for beginners who may not be familiar with the craft. It could include information on the history of macrame, its uses, and its appeal in modern decor.
Materials needed
Here, the post lists the materials required to make a Boho Macrame Tapestry. This might include items such as macrame cord, a tapestry loom stand (as mentioned in the keywords), beads, charms, and any other embellishments.
Step-by-step instructions
1. Creating basic knots: This part of the section provides detailed instructions on how to create the basic macrame knots necessary for the project. It could include illustrations or photos to assist beginners in understanding the techniques.
2. Incorporating beads or charms: This step explains how to enhance the tapestry by adding beads or charms to the macrame design. It may include suggestions for placement and techniques for securing them within the knots.
Tips for hanging and displaying
This final part offers advice on how to hang and display the completed Boho Macrame Tapestry. It might include suggestions for hanging hardware, positioning within a room, and styling tips to enhance its aesthetic appeal.
Overall, this section provides a comprehensive guide for beginners to create a Boho Macrame Tapestry, covering everything from understanding macrame basics to adding personal touches and displaying the finished piece.
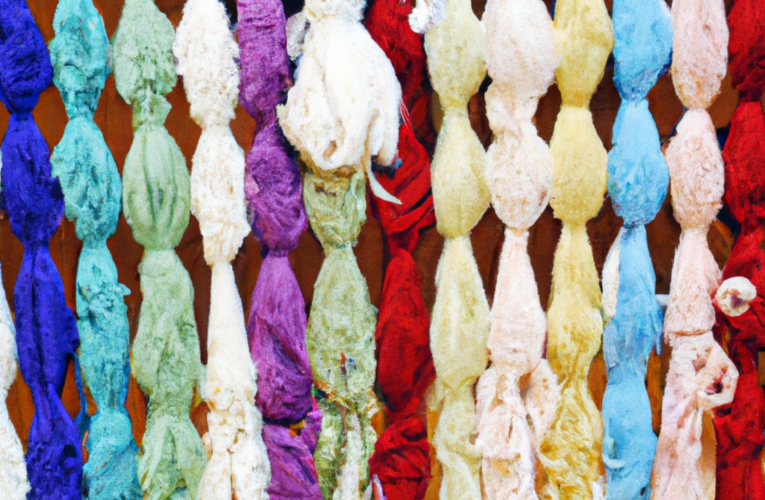
Fabric Scrap Tapestry
Utilizing fabric scraps for a tapestry project is an excellent way to repurpose materials and create something unique. This section will guide beginners through the process of creating a beautiful tapestry using fabric scraps.
Repurposing Old Fabric Scraps
When starting a fabric scrap tapestry project, the first step is to gather old fabric scraps. These can be from old clothing, linens, or other textile items that you no longer use. By repurposing these materials, you not only reduce waste but also add character to your tapestry.
When starting a fabric scrap tapestry project, the first step is to gather old fabric scraps. These can be from old clothing, linens, or other textile items that you no longer use. By repurposing these materials, you not only reduce waste but also add character to your tapestry.
Choosing Complementary Colors and Textures
Selecting fabric scraps with complementary colors and textures is key to creating a visually appealing tapestry. Beginners should consider the overall color scheme they want to achieve and experiment with different combinations. Mixing various textures, such as smooth cotton and textured wool, can add depth to the design.
Creating a Patchwork Design
Once you have gathered your fabric scraps, it’s time to plan your patchwork design. Beginners can start with a simple pattern or arrangement, such as stripes, geometric shapes, or random patches. Sketching out the design on paper can help visualize the final product before starting to assemble the fabric pieces.
Sewing or Gluing Techniques for Beginners
For beginners, simple sewing or gluing techniques can be used to attach the fabric scraps to a base fabric. Those new to sewing can opt for fabric glue or fusible webbing to secure the pieces in place. Alternatively, basic hand-sewing stitches like running stitch or whip stitch are easy to learn and can provide a neat finish to the edges of the fabric scraps.
Tapestry Pillow Cover
A. Benefits of tapestry pillow covers
Discuss the advantages of using tapestry pillow covers, such as durability, unique design possibilities, and personalization.
B. Selecting a simple pillow pattern
Guide readers on choosing a simple yet visually appealing tapestry pattern suitable for beginners. Emphasize the importance of starting with a manageable design.
C. Step-by-step sewing instructions
Cutting fabric to size: Explain how to measure and cut the tapestry fabric according to the dimensions of the pillow form. Provide tips on handling the fabric and ensuring precise cuts.
Sewing the front and back panels together: Detail the process of sewing the tapestry front panel to the back panel, ensuring alignment and proper stitching techniques. Include guidance on seam allowances and reinforcement stitches.]
Adding finishing touches like zippers or buttons: Provide instructions for adding closures to the pillow cover, such as installing zippers or sewing on buttons. Offer alternatives based on readers’ skill levels and preferences.
By following these steps, beginners can create their own tapestry pillow covers, adding a personal touch to their home decor while honing their tapestry weaving skills.
Tips for Success
Patience and Practice – This section will emphasize the importance of patience and regular practice when starting tapestry weaving projects. It could discuss how mastering tapestry weaving takes time, and beginners should not get discouraged if their initial projects are not perfect. Tips on how to stay patient and dedicated to the craft will be included.
Troubleshooting Common Beginner Mistakes – Here, the blog will address common mistakes that beginners might encounter in tapestry weaving. This could include issues such as tension problems, uneven weaving, or mistakes in the pattern. Solutions and tips for fixing these mistakes will be provided to help beginners overcome challenges they may face.
Incorporating Personal Style into Projects – This section will encourage beginners to express their creativity and personal style in their tapestry projects. It could include ideas on how to add unique elements to traditional designs, suggestions for choosing color palettes, and tips on making the project truly their own. The blog might also provide examples of different styles of tapestry weaving to inspire beginners to explore their own artistic preferences.